I was meeting some friends for lunch one day, so I thought it would be nice to take them something other then cupcakes.
I stumbled across a recipe for wagon wheels - I have no idea where from, it was a handwritten recipe in one of our cookbooks - and thought it would be the perfect after lunch treat.
This is how they turned out.... Next time I will make the biscuit thinner, and be patient and let the marshmallow cool, so there is more of it. They liked them regardless. Who doesn't love anything covered in chocolate?!!
Here's how you can make them.
Chocolate Covered Biscuits aka Wagon Wheels
[Printable Recipe]
For this recipe you will need:
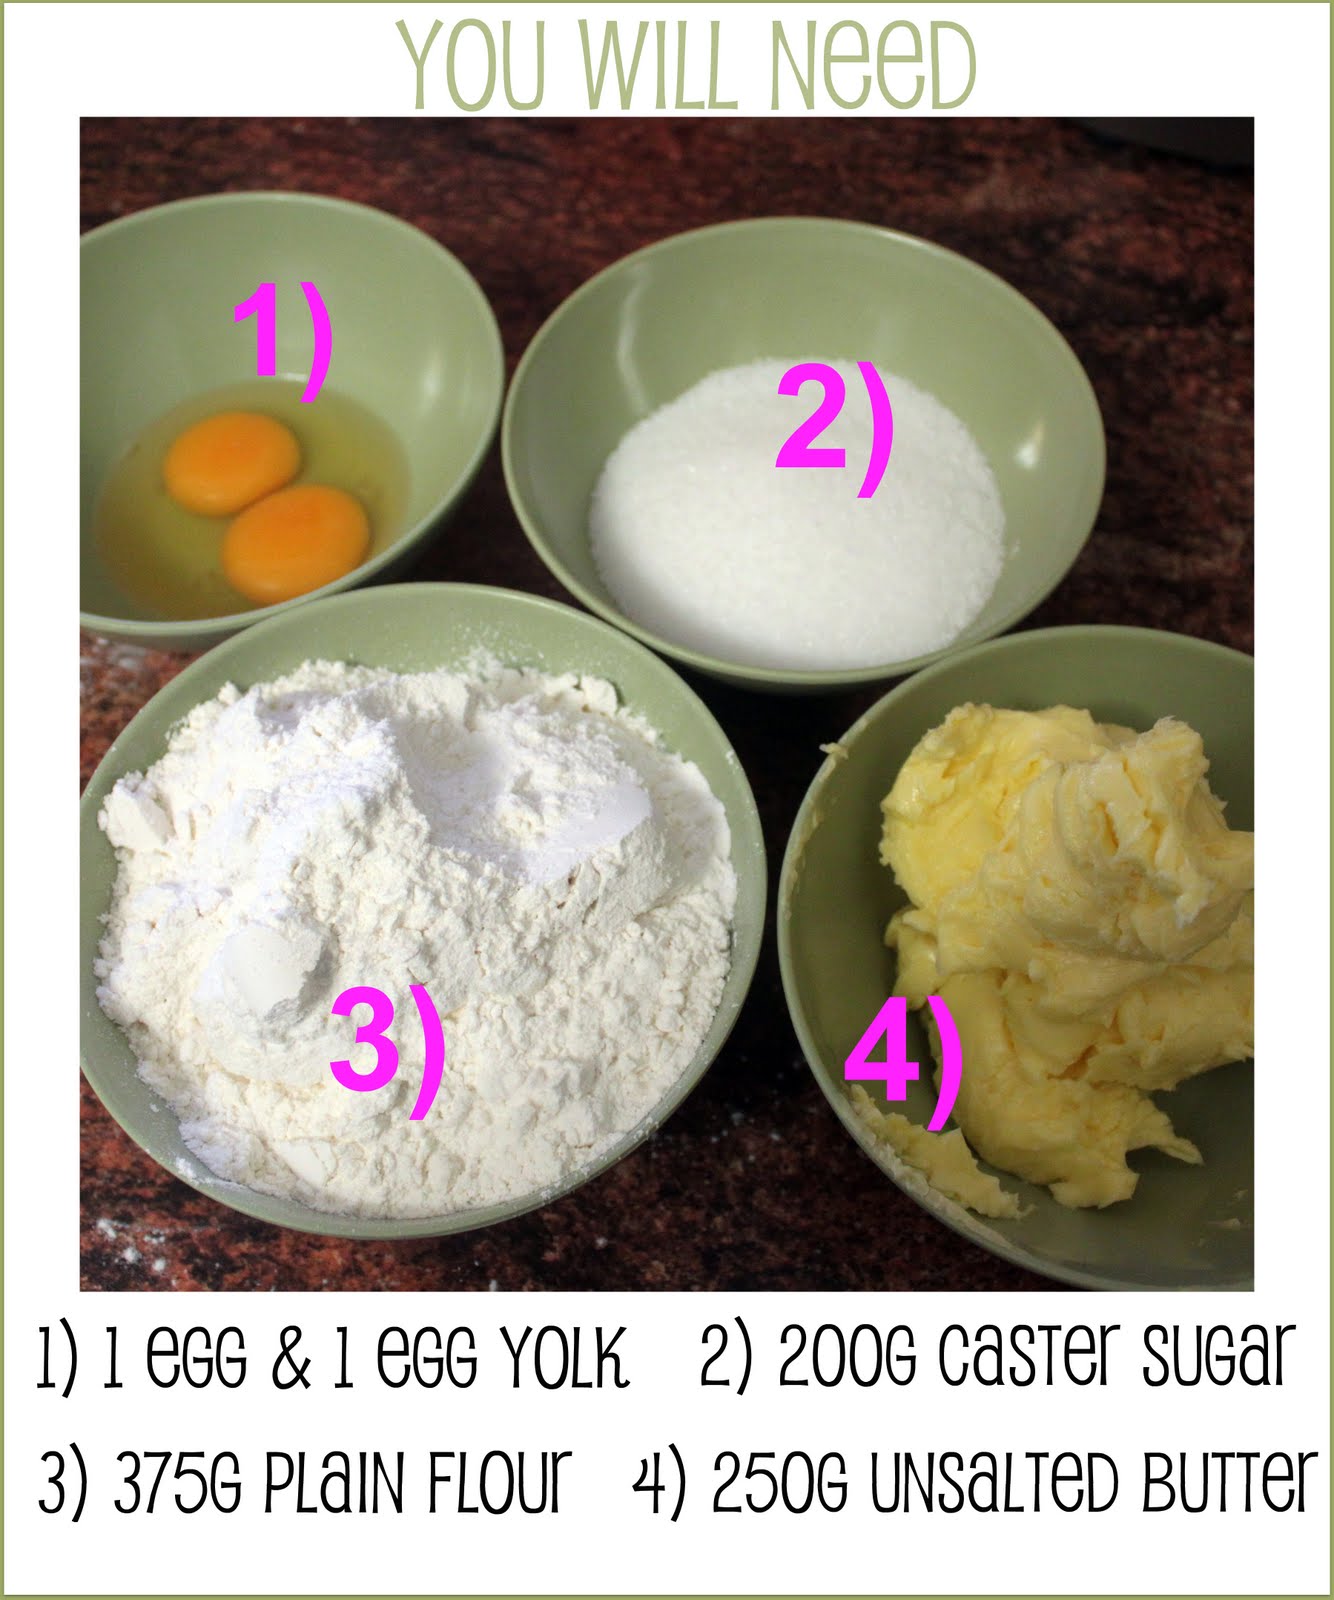
200g Caster Sugar (I used the normal sugar because I had run out of caster sugar and couldn't get to the shops - I didn't have a problem with the normal sugar)
375g Plain Flour
250g Unsalted Butter
1 Egg
1 Egg Yolk (You can save the egg white and use it later to make meringues)
1/2 Cup Jam (Any flavour you like - I used strawberry)
2 Cups Marshmallows (I used pink ones)
1/4 Cup Lemonade
400g Dark Chocolate (I used milk chocolate because I had run out of this as well)
First, preheat your oven to 170 degrees celsius.
Next make the biscuits.
To do this, first measure out all your ingredients.
In a large bowl beat the butter and sugar until light & creamy! This should take about 5 minutes!
When the butter and sugar is mixed together, add the egg and egg yolk and beat until mixed well together.
Gently fold in the flour until it forms a dough.
Once majority of the flour is folded into the sugar/butter/egg mixture, I found it easier to mix it all together with my hands.
 Line an oven tray with baking paper (you will probably need more then one).
On a seperate piece of baking paper, (so it doesn't stick to the kitchen bench) roll out your dough.
I used 2 wooden dowels either side of my dough so that I could get the thickness of the biscuit even. If you wanted to buy them, Willton make these things, that go on either side of your rolling pin, so you can achieve the perfect thickness every time you need to roll anything out!  Using a round cutter (or any shaped cutter you want really..) cut out circles of dough. Arrange discs on prepared tary and put in freezer for 5 minutes.
Bake for 12-15 minutes, or until lightly golden.
While the biscuits are cooking, you can start on the filling.
Measure out your ingredients.
Place the jam in a saucepan and cook over low heat until just boiling. Remove from heat and let cool slightly.  In a seperate saucepan, put the lemonade and marshmallows and cook over low heat, whisking constantly for approximately 5 minutes, or until marshmallows melt and thicken.Be careful, because once they do start to melt, they will start to stick very quickly to the pan. Unless you like the smell of burning marshmallows!
  You should let the marshmallow sit for a while, out of the pan, once it has completely melted so it can cool down. Otherwise this will happen
  and you don't want it to leak out the side. These are meant to have a lot of marshmallow on the insides.
Brush the biscuits with jam, and sandwich together with a generous spoonful of marshmallow. Set them aside.
While the biscuits are resting, melt your chocolate.
 You can do this in the microwave, at 15 second intervals and stirring after each one so that it doesn't burn. Or over a pot of water on the stove. Place a bowl over a pot of water, making sure the bowl isn't touching the water. The chocolate will melt from the steam coming from the water. Make sure the water doesn't touch the chocolate, otherwise it will seize up.
A deep bowl will be best so then you can dip the biscuit in all at once. You may have to re-heat the chocolate a couple of times to make covering the biscuits easier. 
Dip the biscuits into the chocolate and cover them completely. Tap off excess chocolate and place on a baking paper covered tray to cool and set.

 It's her birthday on Saturday, so when I saw her for lunch today, I thought it would be the best time to give them a try.
 All chilli chocolate cupcakes, with a dark chocolate whipped ganache, with red sugar sprinkled on top.

 All Vanilla Cupcakes, with white vanilla icing, blue cachous and fondant 'happy birthday signs'

 1) As many marshmallows as you want to make into marshmallow pops.
 You then need to put your marshmallows into your piece of styrofoam, so when it comes time to drying, it will be alot easier.
 Make sure you tap it quite a bit to get all the excess chocolate off, otherwise it will drip down the marshmallow..
 Then dip it into your choice of decoration, and place it back into the piece of stryrofoam to dry.

 all chocolate cupcakes, mixed with coconut and cherries, topped with a dark chocolate whipped ganache and a cherry on top.




 Using a round cutter (or any shaped cutter you want really..) cut out circles of dough. Arrange discs on prepared tary and put in freezer for 5 minutes.


